Installing commercial vinyl tile is more than just laying down flooring; it’s an art that combines technical skill with aesthetic precision. This comprehensive guide is designed to navigate you through each critical step of the process, from choosing the right materials to the final touches that elevate the installation.
Whether you’re a seasoned professional or tackling this for the first time, these insights will help ensure your project stands out for its quality and craftsmanship. Let’s delve into the world of vinyl tile installation and set the stage for a flawless, enduring finish.
Materials for Commercial Vinyl Tiles
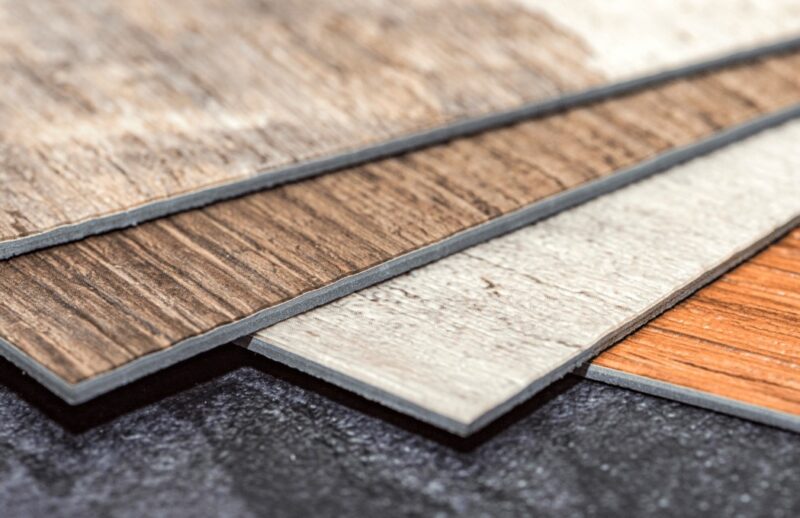
In the realm of commercial vinyl tiles, a variety of materials stand out, each boasting its unique set of advantages and challenges. Luxury Vinyl Tiles (LVT) are renowned for their realistic textures, mimicking materials like wood and stone, and are highly durable, making them a top choice for areas with heavy foot traffic.
On the other hand, Vinyl Composition Tiles (VCT) are lauded for their cost-effectiveness and extensive color options, though they may require more maintenance. In contrast, Sheet Vinyl offers seamless installation and superior water resistance, ideal for spaces prone to moisture.
The choice of material hinges on specific needs like budget, traffic levels, and aesthetic preferences, guiding the selection towards the most fitting solution for a durable and visually appealing floor.
Styles of Commercial Vinyl Tiles
The aesthetic versatility of commercial vinyl tiles presents an array of styles, ensuring a seamless alignment with various interior themes and decors. From the classic elegance of natural wood and stone finishes to bold and contemporary geometric patterns, the choices are boundless.
Selecting the right style involves a thoughtful consideration of the space’s purpose and the desired ambiance. For instance, wood-look tiles infuse warmth and are perfect for creating a welcoming atmosphere in retail or hospitality settings, while tiles with abstract designs make a statement in modern offices.
The fusion of functionality and style opens doors to personalized spaces that resonate with the character and branding of a business. Visit this URL for an even better insight into vinyl tiles.
Tools and Equipment
A successful installation of commercial vinyl tiles hinges on the precision tools and equipment employed. A notched trowel is indispensable for evenly spreading adhesive, ensuring a secure bond between the tiles and the subfloor.
A vinyl cutter or a utility knife comes in handy for making precise cuts, tailored to the room’s dimensions, while a roller is crucial for firmly pressing the tiles into place, eliminating air bubbles and ensuring a smooth finish.
These tools, among others, are fundamental not just for the efficacy of the installation process but also for achieving a professional and long-lasting result.
Preparing the Subfloor
The foundation of a flawless flooring installation lies in the meticulous preparation of the subfloor. This initial phase involves a thorough cleaning to remove debris and dust, ensuring the adhesive adheres properly.
Any irregularities, such as dips or bumps, must be addressed through leveling, as even minor imperfections can lead to noticeable flaws in the final installation. In cases of existing damage, repairs are paramount to prevent future complications.
The significance of a meticulously prepared subfloor cannot be overstated, as it directly influences the longevity and appearance of the vinyl flooring.
Measuring and Layout
Accurate measurement and strategic layout planning are pivotal for the aesthetic and practical success of vinyl tile installation. By meticulously measuring the space and planning the layout, one can avoid the pitfalls of uneven tile distribution or unsightly cuts, particularly around the room’s perimeter.
The practice of starting from the centerline ensures a balanced distribution of tiles, creating a harmonious and visually pleasing pattern.
This approach not only enhances the room’s aesthetics but also optimizes the use of materials, making it a critical step in the installation process.
Adhesive and Underlayment
For commercial vinyl flooring, selecting the right adhesive is paramount. Premium adhesives are designed to offer superior bond strength and flexibility, accommodating the subtle movements of the flooring material.
The choice of underlayment is equally crucial, serving as a foundation for the vinyl. It should be smooth, stable, and compatible with the adhesive. When applying adhesive and underlayment, ensure the surface is clean and even.
Spread the adhesive uniformly, avoiding excess application, which can lead to issues like bubbling or shifting after installation.
Cutting and Fitting
Measuring and cutting vinyl for irregular spaces demands precision. For accurate cuts, use a detailed template of the area and a sharp cutting tool to ensure clean edges. Managing corners and intricate spaces requires patience and meticulousness.
It’s vital to measure twice and cut once, as mistakes can be costly. Precision in this phase sets the stage for a seamless installation, ensuring that each piece fits perfectly without leaving gaps or creating overlaps.
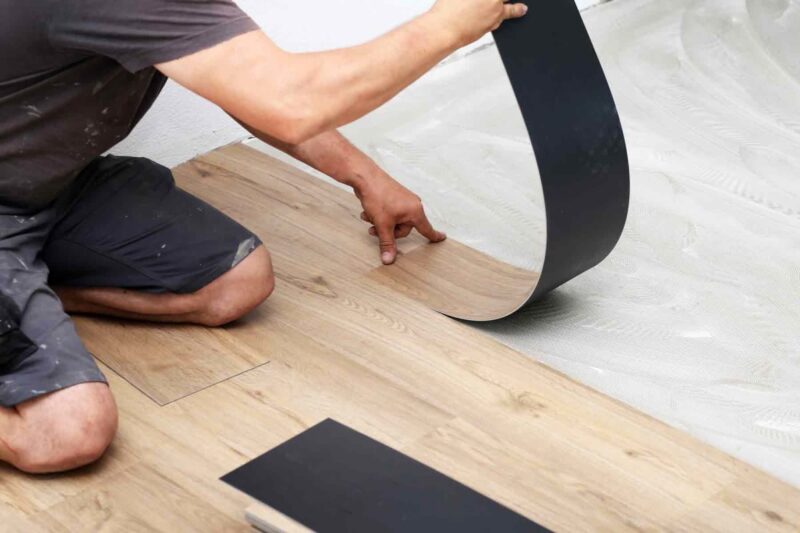
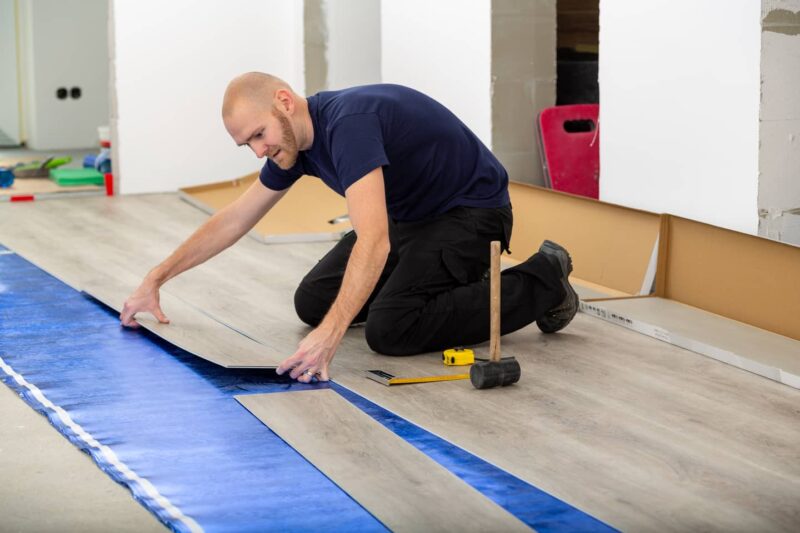
Installation Techniques
Laying vinyl tiles begins with careful planning of the layout to determine the starting point and direction of the tile rows. Press each tile firmly into place, working in small sections to ensure the adhesive doesn’t dry prematurely.
To avoid bubbles and wrinkles, use a roller to apply even pressure across the tile. Proper alignment is crucial; slight deviations can lead to noticeable discrepancies across the floor. Spacing between tiles should be consistent, following the manufacturer’s recommendations to allow for expansion and contraction.
Seam Sealing and Finishing
Seam sealing is an integral part of vinyl tile installation, preventing moisture and dirt from penetrating the seams and ensuring a continuous, clean look. Select a seam sealer compatible with the specific type of vinyl flooring.
Apply it carefully, ensuring thorough coverage without overflowing onto the tile surface. Finishing touches might include installing edge trim or transitions to adjacent flooring, enhancing both the appearance and durability of the installation.
Maintenance and Care
Maintaining commercial vinyl flooring involves regular cleaning and protection against wear and tear. Use cleaning products designed for vinyl to avoid damage from harsh chemicals. Regular sweeping and occasional mopping will keep the floor looking fresh.
Protect the flooring from scratches and dents by using furniture pads and avoiding dragging heavy objects across the surface. Proper care will extend the life of the flooring and preserve its appearance for years to come.
Conclusion

A successful commercial vinyl tile installation hinges on attention to detail at every stage, from selecting the right adhesive and underlayment to precise cutting, fitting, and seam sealing.
Proper installation techniques ensure a flawless finish, while regular maintenance preserves the floor’s beauty and functionality.
By following these guidelines, you can achieve a durable and aesthetically pleasing vinyl flooring installation. We invite readers to share their questions and experiences, fostering a community of learning and engagement.