A leaking bathroom faucet can be a persistent annoyance, leading to wasted water and potential damage to your bathroom fixtures. In this comprehensive guide, we’ll tackle the issue head-on, providing you with quick fixes and pro tips to resolve the problem. We assume that you already have a basic understanding of your faucet’s components and aim to provide straightforward solutions to address the issue. Let’s get started by identifying the source of the leak.
Identifying the Leak Source: Where to Start
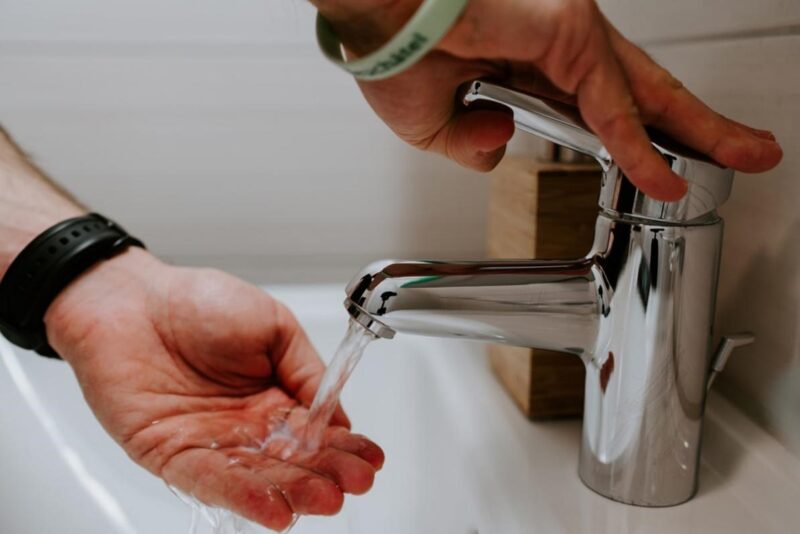
The first step in repairing a leaking bathroom faucet is to pinpoint the source of the leak. Begin by turning off the water supply to the faucet to prevent further leakage. Examine the faucet carefully, checking for visible drips or moisture around the spout, handles, or base. Identifying the specific area of the leak will help you determine the most appropriate repair method.
Essential Tools for the Job
Before you dive into fixing the faucet, gather the essential tools for the job. You’ll need an adjustable wrench, screwdrivers, plumber’s tape, a replacement O-ring (if necessary), and a flashlight to aid in your inspection. Having these tools on hand will make the repair process smoother and more efficient. Additionally, having a bucket or towels nearby to catch any water drips during the repair can help maintain a clean workspace and prevent further damage. If you’re lacking the essential tools you should visit ppplumbers.com.au.
Quick Fix: Tightening Loose Faucet Components
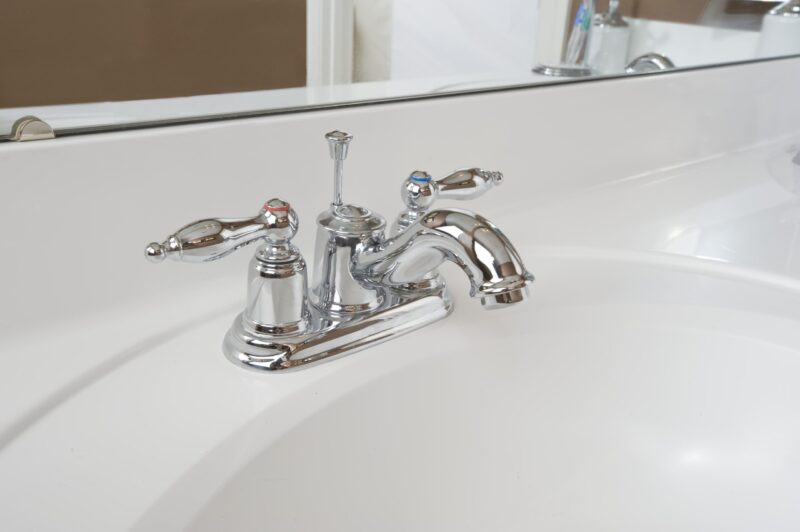
In many cases, a leaking faucet can be attributed to loose components. Start with a quick fix by tightening any loose nuts or bolts that secure the faucet to the sink. Use your adjustable wrench to ensure a snug fit, but be careful not to overtighten, as this can damage the fixture. Check the handles and spout for any wobbling, and if needed, tighten their respective components as well. This simple step can often resolve minor leaks and prevent them from worsening.
Replacing a Damaged O-Ring: Step-by-Step Guide
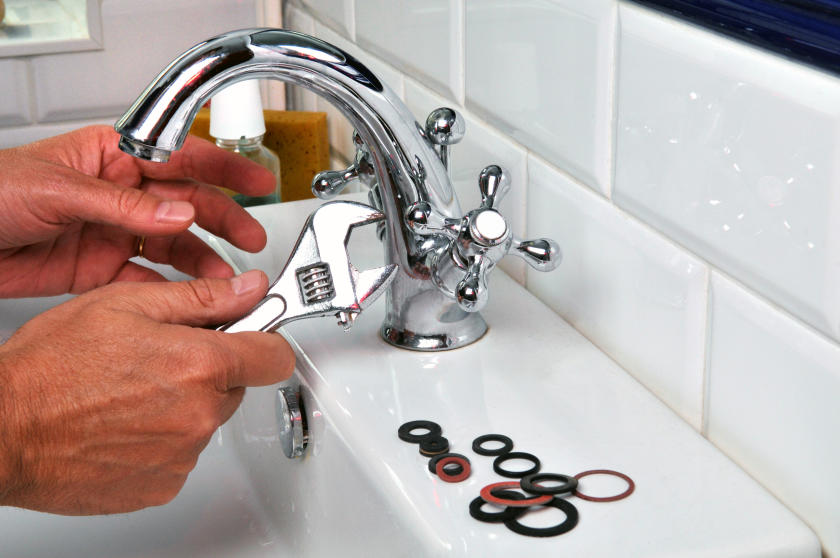
If you’ve identified that the leak source is a damaged O-ring, it’s time for a step-by-step replacement. Begin by turning off the water supply and removing the faucet handle. Carefully extract the old O-ring and replace it with a new one of the same size. Apply plumber’s tape to the threads before reassembling the faucet. This simple repair can effectively stop leaks around the handle. It’s crucial to choose the right-sized replacement O-ring to ensure a proper seal.
Cartridge Faucets: Troubleshooting and Repair
For cartridge-style faucets, troubleshooting and repair may require a bit more effort. Begin by removing the faucet handle and the cartridge itself. Inspect the cartridge for wear or damage and replace it if necessary. Cleaning the cartridge and lubricating it with silicone grease can also resolve common issues. Make sure to follow the manufacturer’s instructions for disassembly and reassembly, as cartridge faucets can have intricate components.
Addressing Common Valve Issues
Leaking around the faucet’s valve is a common problem. To address this, disassemble the faucet and inspect the valve for corrosion or mineral buildup. Cleaning the valve thoroughly and replacing any damaged parts can often resolve the issue. Don’t forget to apply plumber’s tape when reassembling. Keep in mind that some valves may require specialized tools or replacement parts that are readily available at hardware stores.
Repairing a Leaky Faucet Handle
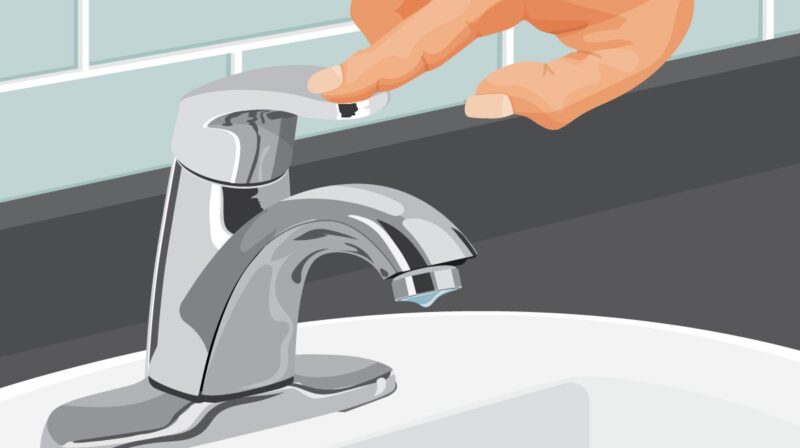
A leaky faucet handle can be particularly bothersome. To repair it, turn off the water supply and remove the handle. Examine the handle mechanism for any damaged components. Replacing worn-out parts or applying silicone grease can often eliminate leaks at the handle. Be sure to follow the manufacturer’s guidelines for handle removal and replacement, as different faucet models may have unique mechanisms.
When to Call a Professional Plumber
While many faucet leaks can be resolved with DIY repairs, there are instances where it’s best to call a professional plumber. If you encounter complex issues, such as extensive valve damage or if you lack the necessary tools and expertise, seeking professional help is a wise choice. A plumber can diagnose and fix the problem efficiently, ensuring that your plumbing system is in optimal condition. Don’t hesitate to contact a professional if you’re unsure about the extent of the issue.
Preventing Future Leaks with Regular Maintenance
To avoid future faucet leaks, it’s essential to perform regular maintenance. Inspect your faucet periodically for any signs of wear or damage. Tighten loose components, replace O-rings as needed, and clean cartridge faucets to keep them in optimal condition. Regular maintenance will prolong the life of your faucet and prevent costly repairs. Additionally, consider using a water leak detection device that can alert you to potential leaks early, providing peace of mind and saving you money on water bills.
Upgrading Your Faucet for Long-Term Reliability
Consider upgrading your bathroom faucet for long-term reliability. Modern faucets often come with improved features, such as ceramic disc valves that are more durable and less prone to leaks. While this may require an initial investment, it can save you money on water bills and future repairs in the long run. Look for faucets with WaterSense certification to ensure water efficiency, further reducing your environmental footprint.
Eco-Friendly Faucet Repair: Conserving Water
Repairing a leaking faucet is not only about saving water but also contributing to a more eco-friendly household. By fixing leaks promptly, you can help conserve water resources and reduce your environmental impact. It’s a small step that makes a significant difference. Additionally, consider installing aerators on your faucets, which can reduce water flow while maintaining sufficient pressure, further aiding in water conservation.
Wrapping Up: A Drip-Free Bathroom Faucet
In conclusion, repairing a leaking bathroom faucet doesn’t have to be a daunting task. With the right tools and knowledge, you can tackle the issue head-on. Whether it’s a loose component, a damaged O-ring, or a faulty cartridge, you now have the insights to address the problem effectively. Regular maintenance and eco-friendly choices can keep your bathroom faucet drip-free for years to come. So, don’t let that annoying leak persist – take action and enjoy a fully functional and water-efficient faucet in your bathroom.